
Deploy Azure Functions with Terraform
Reading time: 12 min
Last updated
_,.-'~'-.,__,.-'~'-.,__,.-'~'-.,__,.-'~'-.,__,.-'~'-.,_
<TLDR> A practical, step by step guide on how to deploy an Azure Function with Terraform. No prior experience is required. Final code is in the tutorial repo. </TLDR>
I love how quickly you can log in to a cloud provider UI and create a few resources for some random test. But unfortunately this approach is neither scalable nor reproducible. Unless I know this is going to be a one-time experiment I'd prefer to define the resources with Infrastructure-as-Code. This way I can easily and consistently replicate the setup in multiple environments. Being able to track changes in git and reuse modules like in a programming language is another big advantage.
Though cloud providers have their own IaC solutions (ARM in Azure, CloudFormation in AWS) I recently switched to Terraform for a unified experience across all platforms.
1. Who is this tutorial for? #
Below is a practical, step by step guide on how to deploy an Azure Function with Terraform. No prior experience with TF is required.
You may find this guide useful if you are:
- a frontend developer looking to build something in the backend and curious about best practices to manage cloud resources
- a backend developer who mostly manages cloud infrastructure with provider's UI portal
- a devops engineer getting familiar with Azure looking for a reference on function app deployment
2. What we will build #
Since the focus of this post is on Terraform, we will create a basic hello-world function in TypeScript to serve as our deployment unit but otherwise it can be in any language.
We will provision Azure resources required to host and monitor the function in the Linux-based Consumption (serverless) environment with Terraform, one resource at a time. There will be comments for how to change the config to adapt for Windows deployment.
Finally we will deploy the function code and execute it in the cloud.
What's not included:
- Remote Terraform state storage. By default remote infrastructure state (resource IDs and metadata) is stored in a local file in Terraform module directory. This is not ideal for team work. Best practice is to store state files in a remote backend.
3. Prerequisites #
I won't go over the installation of the tools since the process for of them is well documented. In order to follow along this tutorial you will need:
- Node.js (you can choose another runtime when you create the function).
- Azure Functions Core Tools v3 to run and deploy Functions code.
- Azure CLI 2.4+. You must be logged in to the CLI.
- Terraform to manage infrastructure in the cloud.
- Azure account. You can start for free.
There's a VS Code dev container definition included in the repo for a quick start. It has all of the dependencies so you don't have to install them on your local machine.
4. Function to be deployed #
Here's a condensed version of the official quickstart to create a hello world function. We're going to use TypeScript and node.js here, reference the quickstart for other options.
Create a new function app project:
func init deploy-azure-functions-with-terraform --typescriptFunction app may consist of one or multiple functions. It is the unit of scale in Azure Functions (all of the functions run in the same container). Functions within one functions app can have different triggers (e.g. one is http-triggered and the other is triggered on a CRON schedule).
Add a new HTTP-triggered function to the project:
cd deploy-azure-functions-with-terraform/

func new --name hello-world --template "HTTP trigger" --authlevel "anonymous"
Run the function locally:
npm install
npm start
curl http://localhost:7071/api/hello-world?name=Terraform

Hello, Terraform. This HTTP triggered function executed successfully.
5. Terraform module #
Following the standard naming convention in Terraform, we will define our infrastructure module within 4 files:
❯ tree terraform
terraform
├── main.tf
├── outputs.tf
├── terraform.tfvars
└── variables.tf
main.tf is where the cloud resources and their configuration will be defined.
variables.tf is for definitions of variables used in main.tf.
terraform.tfvars is for actual values of variables from varaibles.tf.
outputs.tf lists the values that main.tf should report back to the user.
5.1. Define module variables #
To make our module reusable, we can define a list of variables (you can think about them as of input arguments) it supports. Later we will reference them within the module. Each variable declaration consists of a name at minimum, but also can specify variable type, description and default value. Let's add 3 variables:
# terraform/variables.tf

variable "project" {
  type = string
  description = "Project name"
}

variable "environment" {
  type = string
  description = "Environment (dev / stage / prod)"
}

variable "location" {
  type = string
  description = "Azure region to deploy module to"
}
5.2. Set module variables' values #
Terraform will automatically load all .tf and .tfvars files in the module's directory. Latter is to specify values for module variables defined in the previous step. Alternatively you can pass them as command line arguments or with environment variables.
# terraform/terraform.tfvars

project = "azuretf"
environment = "dev"
location = "East US"
5.3. Configure provider #
You deploy Terraform module to a provider. Obvious provider examples are cloud providers like AWS/GCP/Azure but there are many more. You can manage resources and configuration in Digital Ocean, Heroku, Github and Netlfy. See the full list of providers in the Terraform Registry.
# terraform/main.tf

terraform {
  required_providers {
    azurerm = {
      source = "hashicorp/azurerm"
      # Root module should specify the maximum provider version
      # The ~> operator is a convenient shorthand for allowing only patch releases within a specific minor release.
      version = "~> 2.26"
    }
  }
}

provider "azurerm" {
  features {}
}
5.4. Create resource group #
Resource Group is a logical container to organize resources together and manage permissions in Azure. Each resource must belong to a single resource group.
Something to note here as we're about to add the first resource definition.
Terraform resource declaration follows this format:
resource "[terraform resource type]" "[logical resource name]" {
  [resource property] = [value]
  [resource property] = [value]
  ...
}
You really want to stick to some naming convention, both in Terraform resource names (resource_group below) and with cloud resource names (${var.project}-${var.environment}-resource-group below). It's so much easier when you can easily and consistently come up with a resource name without guessing or referencing the sources.
# terraform/main.tf

...

resource "azurerm_resource_group" "resource_group" {
  name = "${var.project}-${var.environment}-resource-group"
  location = var.location
}
5.5. Deploy the first resource #
At this point we have everything we need to deploy the resource group defined in main.tf to Azure. Let's do that.
First, initialize Terraform so it downloads required provider dependencies. This has to be done once.
All terraform ... commands must be executed in the terraform directory, where the module sources are.
terraform init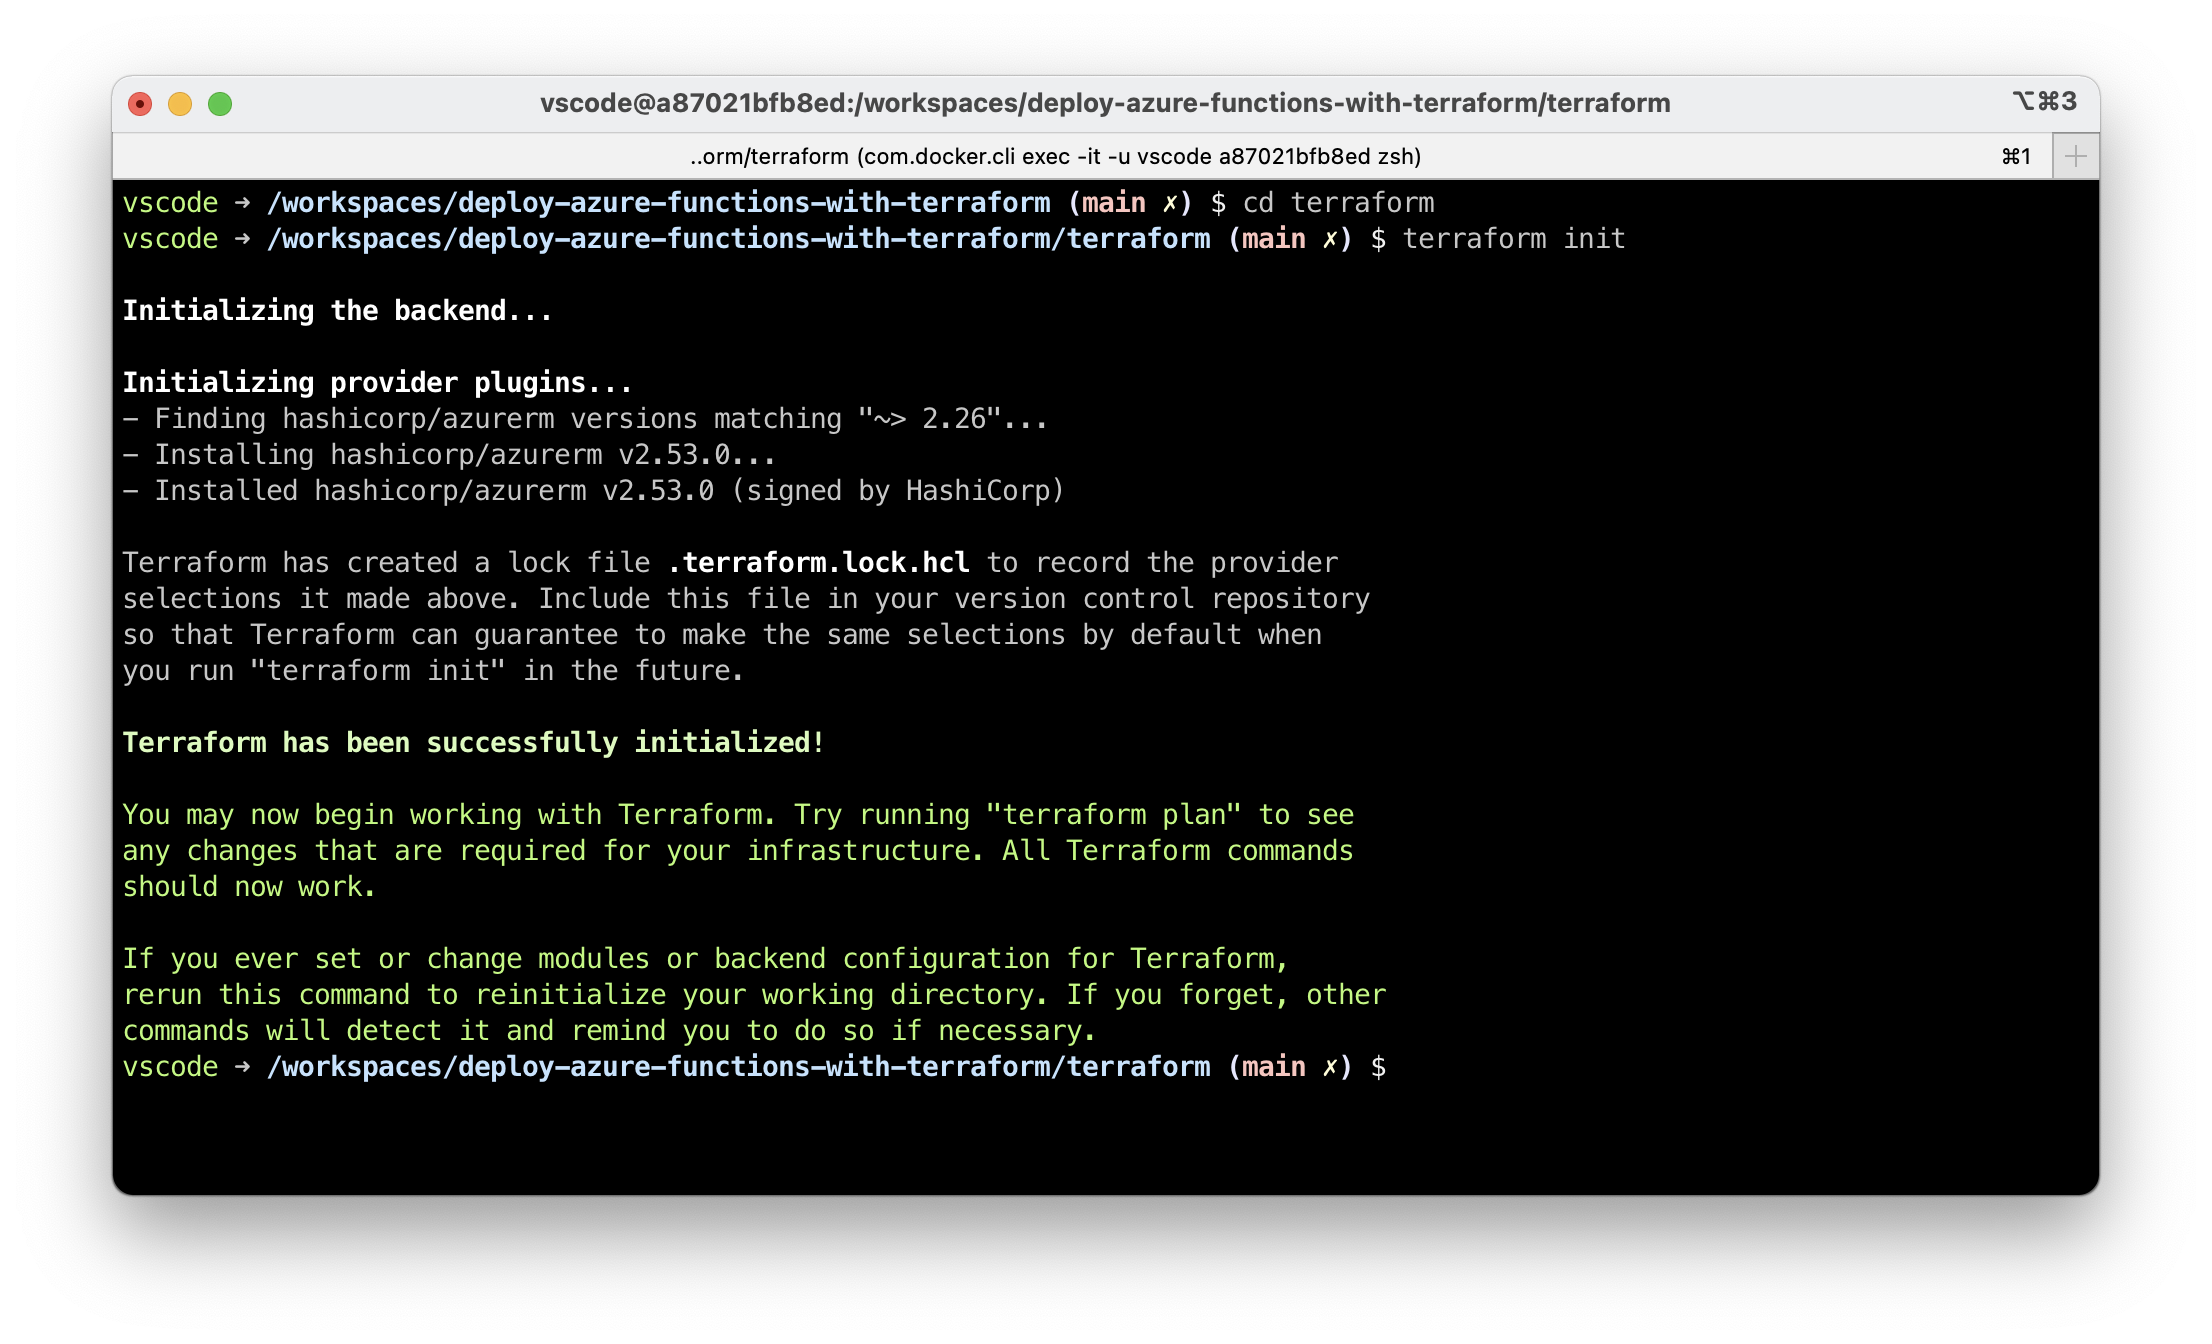
Review changes to be deployed with terraform plan. It clearly states there will be 1 new resource created.
terraform plan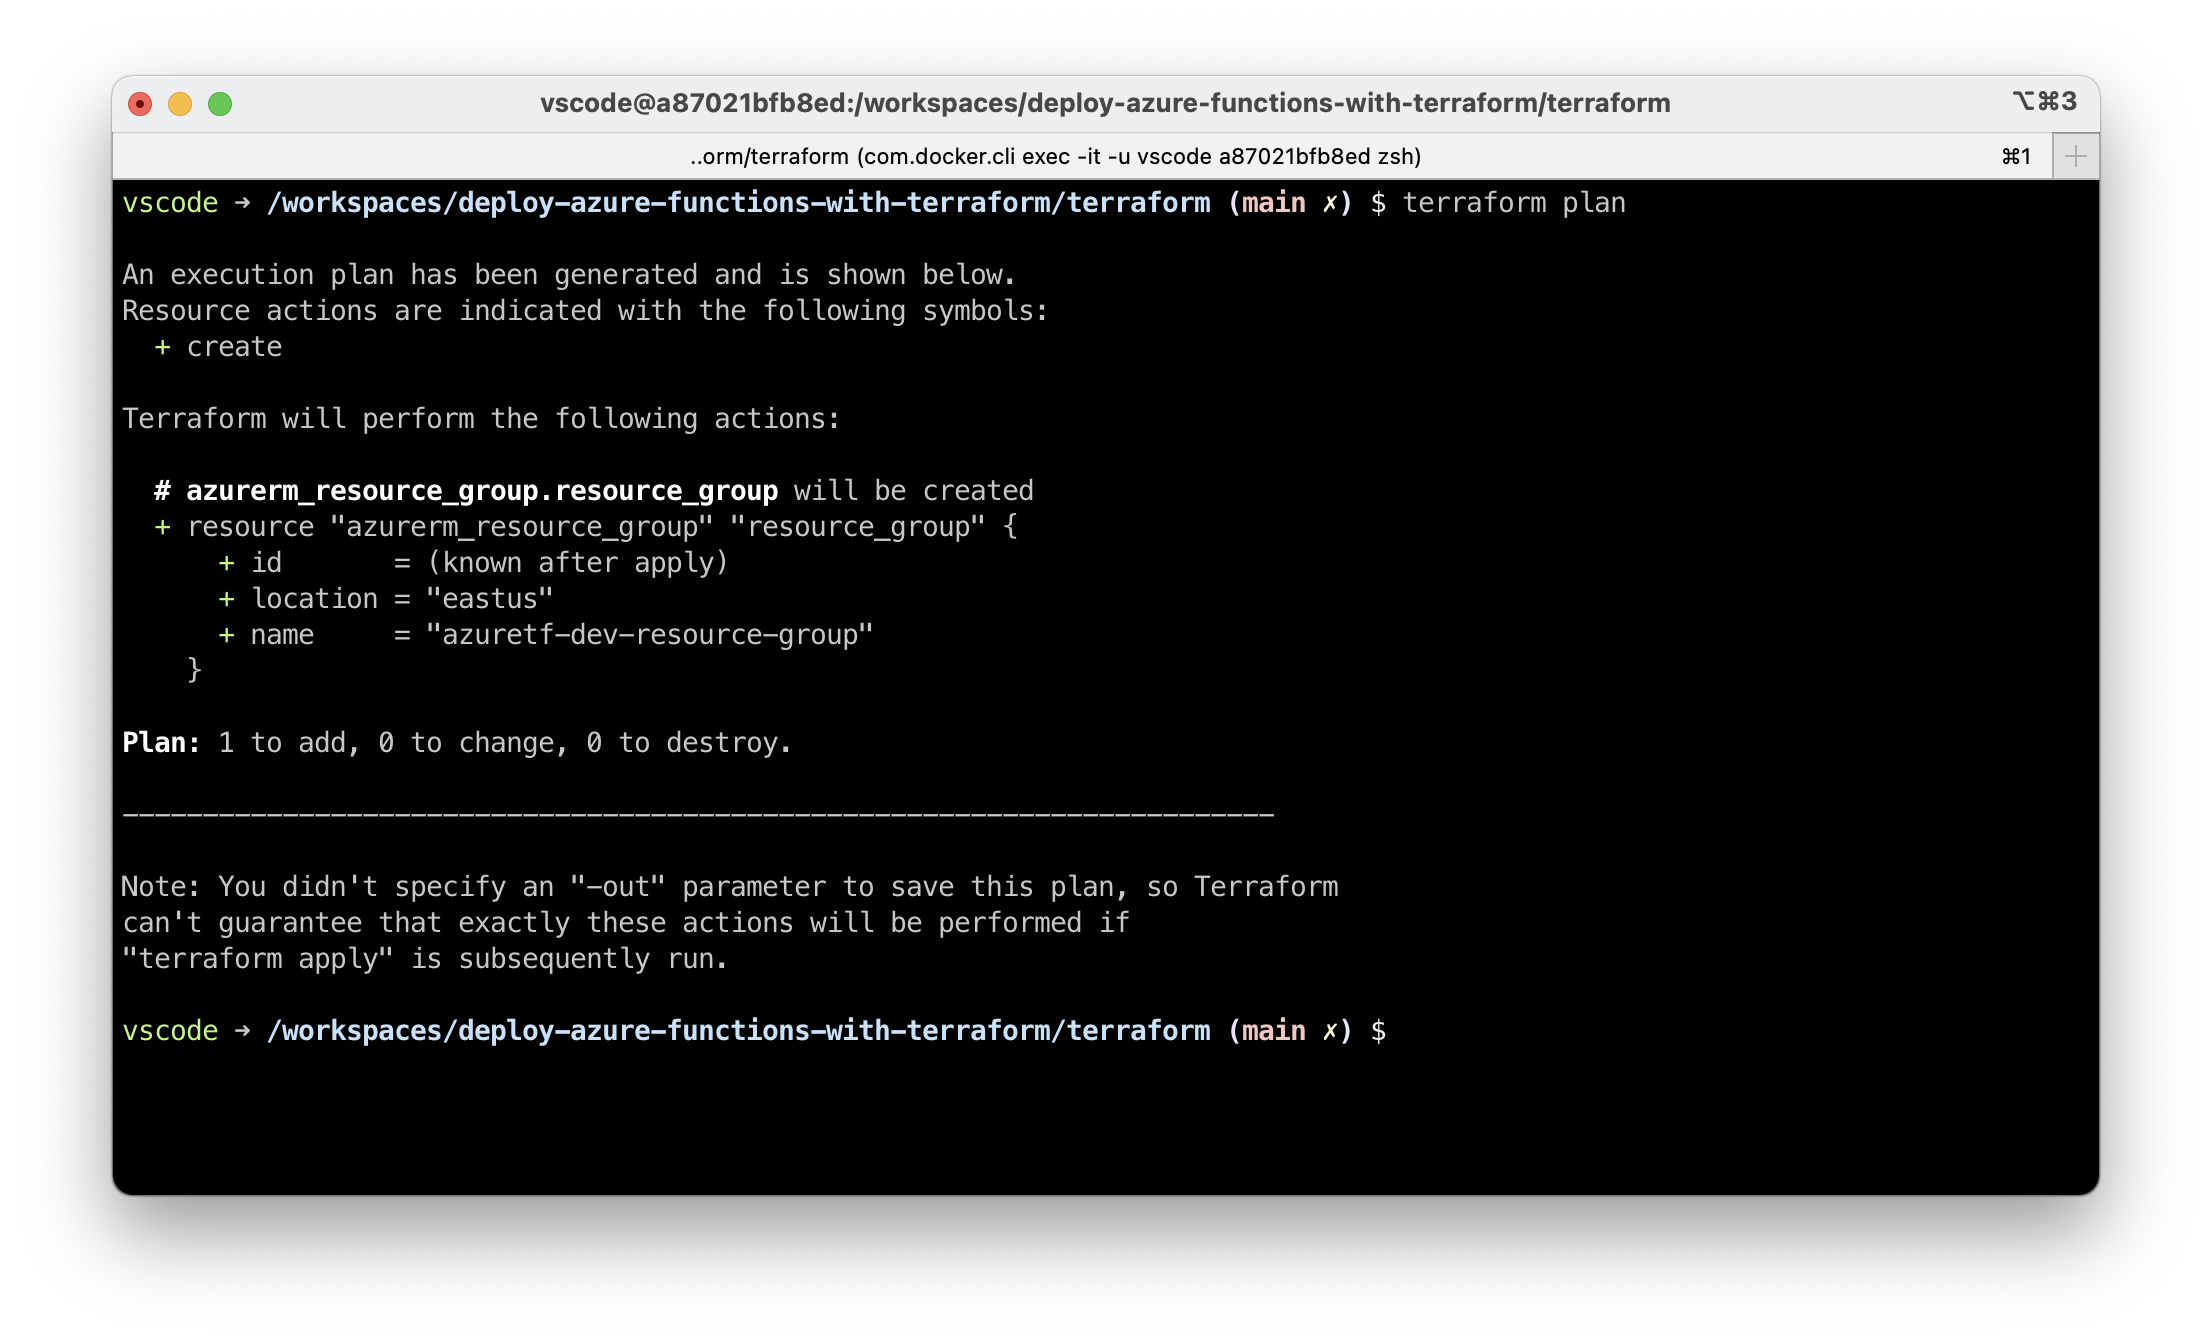
Deploy the resource with terraform apply.
plan and apply are the commands you will use most often in Terraform. apply will once again show a preview of what will be deployed.
terraform apply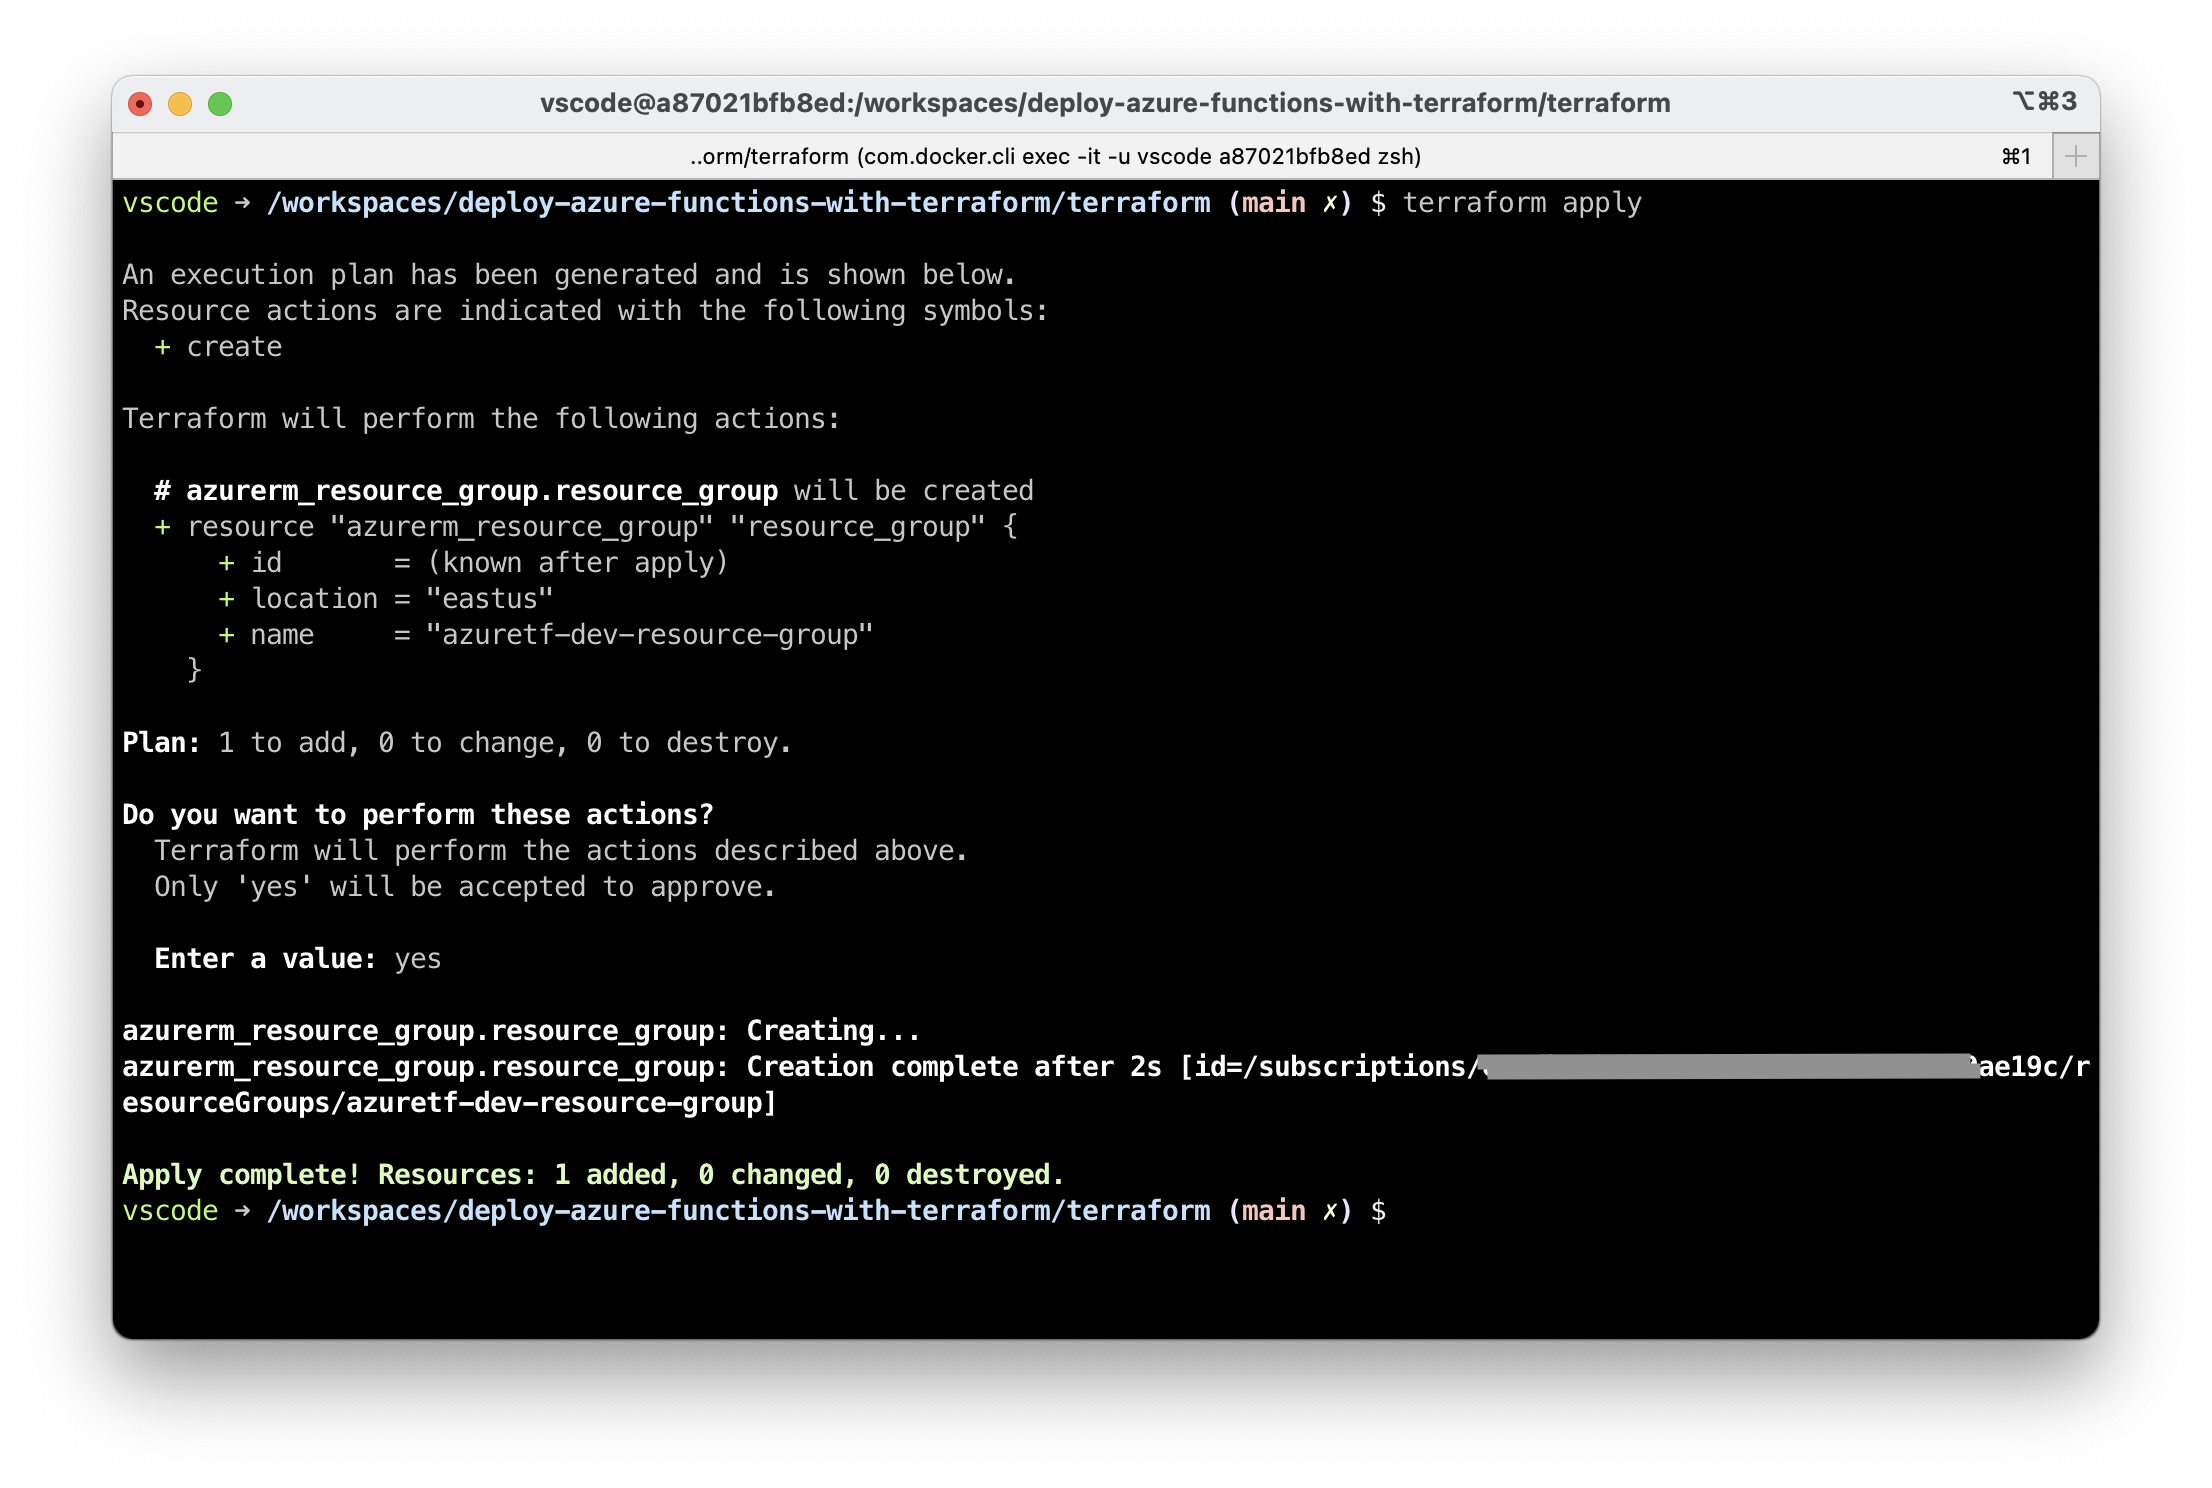
5.6. Create storage account #
Storage account is another resource required for our function app. It will host the file system of the container running our function app. This is where the code will be uploaded as well as where logs and any temporary files will be written to.
Notes:
- Storage account naming convention is an exception to the rule since Azure doesn't allow
-in the name - We reference the resource group created in the previous step. This also signals to Terraform in which order to create resources so that dependencies are properly resolved.
LRSstands for "Locally redundant storage" where your data is replicated within a single region. A more advanced setting here isZRSwhich is "Zone-redundant storage".
# terraform/main.tf

...

resource "azurerm_storage_account" "storage_account" {
  name = "${var.project}${var.environment}storage"
  resource_group_name = azurerm_resource_group.resource_group.name
  location = var.location
  account_tier = "Standard"
  account_replication_type = "LRS"
}
You can review and deploy the change right away or you can add all resources from the following steps and deploy them all at once.
5.7. Create Application Insights resource #
Application Insights is a component of Azure Monitor which allows you to collect metrics and logs from your function app.
# terraform/main.tf

...

resource "azurerm_application_insights" "application_insights" {
  name                = "${var.project}-${var.environment}-application-insights"
  location            = var.location
  resource_group_name = azurerm_resource_group.resource_group.name
  application_type    = "Node.JS"
}
5.8. Create App Service Plan #
A Function App must always be associated with an App Service Plan which defines the compute resources available to the FA and how it scales.
There are 3 plans available:
- Consumption Plan. Serverless, scales automatically with the number of events. No events => zero instances (you pay nothing).
- Premium Plan. You reserve a number of always-ready instances which run no matter if there are events or not. As load grows, new instances are added automatically.
- Dedicated (App Service) Plan. FAs will run on VMs managed by you. Doesn't scale automatically based on events.
Naming is a bit unfortunate here since the 3rd option has "App Service Plan" in it too. We want to go serverless thus we choose a Linux Consumption App Service Plan. sku section below sets it.
# terraform/main.tf

...

resource "azurerm_app_service_plan" "app_service_plan" {
  name                = "${var.project}-${var.environment}-app-service-plan"
  resource_group_name = azurerm_resource_group.resource_group.name
  location            = var.location
  kind                = "FunctionApp"
  reserved = true # this has to be set to true for Linux. Not related to the Premium Plan
  sku {
    tier = "Dynamic"
    size = "Y1"
  }
}
Here's how the app service configuration will change for different environments (something I found out through trial and error):
Linux Premium
resource "azurerm_app_service_plan" "app_service_plan" {
  ...
  kind     = "elastic"
  reserved = true
  sku {
    tier = "ElasticPremium"
    size = "EP1"
  }
}
Windows Consumption
resource "azurerm_app_service_plan" "app_service_plan" {
  ...
  kind     = "FunctionApp"
  reserved = false
  sku {
    tier = "Dynamic"
    size = "Y1"
  }
}
Windows Premium
resource "azurerm_app_service_plan" "app_service_plan" {
  ...
  kind     = "elastic"
  reserved = false
  sku {
    tier = "ElasticPremium"
    size = "EP1"
  }
}
5.9. Create Function App #
The final resource we need to create is the function app itself. It references resources created earlier: App Service Plan, Application Insights instance and storage account. Version is set to 3, which is the latest version of Azure Functions at the moment.
app_settings is a key-value block with configuration options for all of the functions in the Function App. If you need to pass an environment variable to your code, add it here.
If you publish code with other tools (e.g. Azure Functions Core Tools, or VS Code, or use ZIP deploy directly), they may change the value of WEBSITE_RUN_FROM_PACKAGE. To prevent Terraform from reporting about configuration drift in these cases, we set the app setting to an empty value and ignore changes in the lifecycle block. Note: alternatively you can deploy the function code with Terraform too - there won't be this issue then.
For CORS configuration, check the cors parameter in the resource documentation.
# terraform/main.tf

...

resource "azurerm_function_app" "function_app" {
  name                       = "${var.project}-${var.environment}-function-app"
  resource_group_name        = azurerm_resource_group.resource_group.name
  location                   = var.location
  app_service_plan_id        = azurerm_app_service_plan.app_service_plan.id
  app_settings = {
    "WEBSITE_RUN_FROM_PACKAGE" = "",
    "FUNCTIONS_WORKER_RUNTIME" = "node",
    "APPINSIGHTS_INSTRUMENTATIONKEY" = azurerm_application_insights.application_insights.instrumentation_key,
  }
  os_type = "linux"
  site_config {
    linux_fx_version          = "node|14"
    use_32_bit_worker_process = false
  }
  storage_account_name       = azurerm_storage_account.storage_account.name
  storage_account_access_key = azurerm_storage_account.storage_account.primary_access_key
  version                    = "~3"

  lifecycle {
    ignore_changes = [
      app_settings["WEBSITE_RUN_FROM_PACKAGE"],
    ]
  }
}
If you are to deploy a Windows function app, make these changes:
resource "azurerm_function_app" "function_app" {
  ...
  app_settings = {
    ...
    # add this
    "WEBSITE_NODE_DEFAULT_VERSION": "~14"
  }
  # remove this
  # os_type = "linux"
  site_config {
    ...
    # remove this
    # linux_fx_version = "node|14"
  }
}
5.10. Add module output #
We have all the components defined in Terraform now. Once we deploy the module we want to know the hostname of our function app to make a test call. We also need the Azure name of the function app for the next step where we deploy the function code.
Add output definitions:
# terraform/outputs.tf
output "function_app_name" {
value = azurerm_function_app.function_app.name
description = "Deployed function app name"
}
output "function_app_default_hostname" {
value = azurerm_function_app.function_app.default_hostname
description = "Deployed function app hostname"
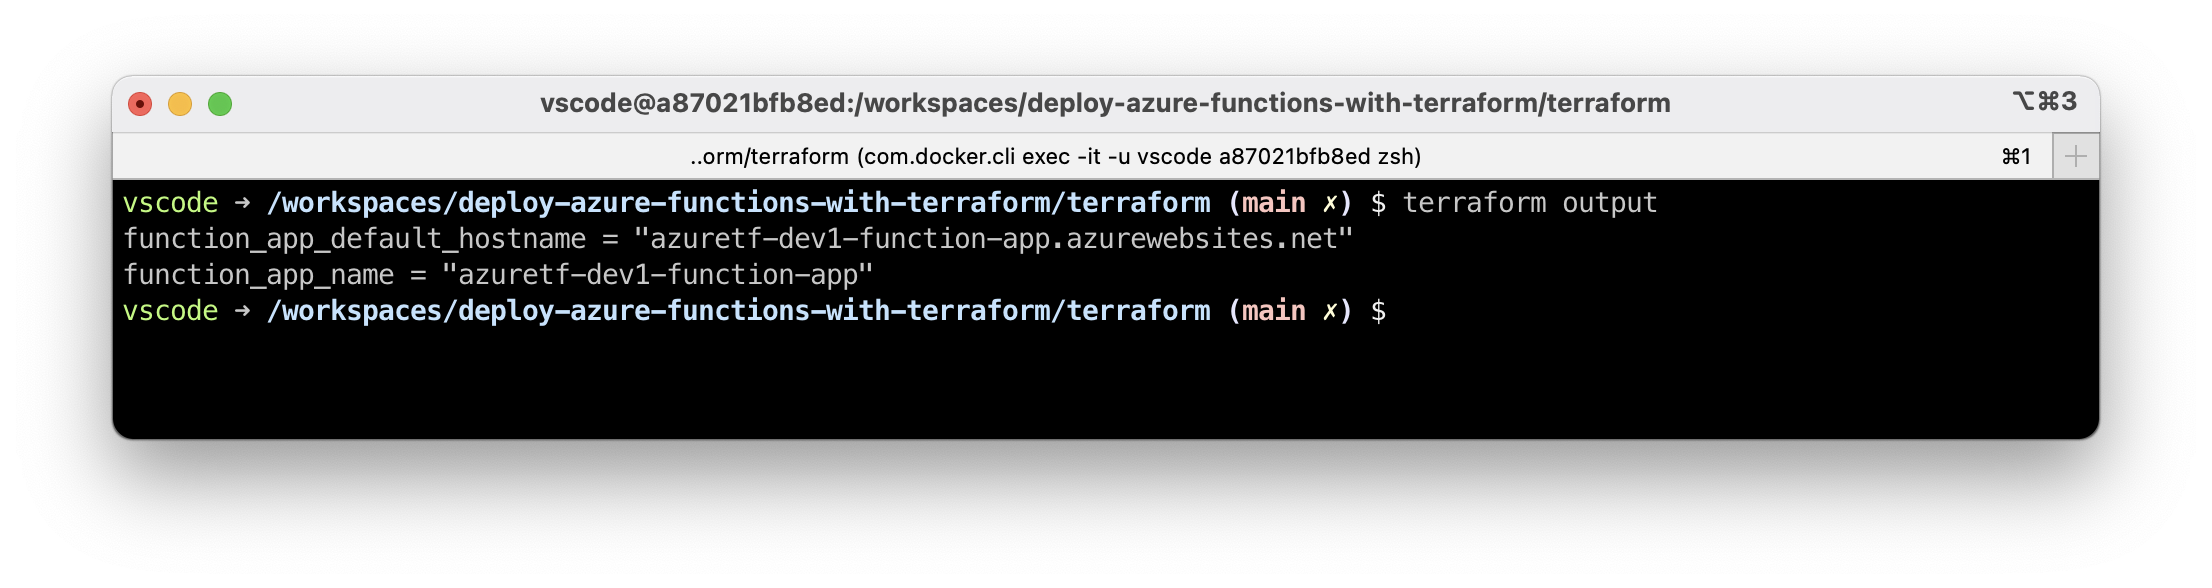
}Outputs will be listed after successful terraform apply or you can see all registered outputs with terraform output.
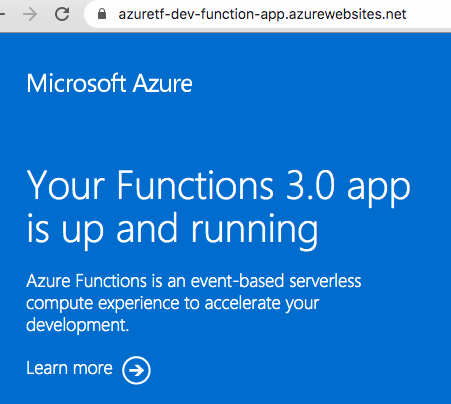
5.11. Verify infrastructure is deployed #
Open the function app hostname in the browser. You should see the success page:
6. Deploy the code #
We have a place in the cloud where the code will run, let's upload our code there.
There are multiple ways to deploy code to Azure Functions, below we'll use Azure Functions Core Tools. Alternatively, you can deploy the code with Terraform to not introduce additional dependencies.
By default Azure Functions Core Tools will upload full content of the current folder minus files matching patterns in .funcignore.
Make sure to add terraform/* to that file, otherwise you will publish multi-megabyte terraform folder to your function app:
printf "\nterraform/*" >> .funcignoreYou may also want to exclude dev dependencies from your node_modules before code upload. There's a npm run build:production command which will prune non-production modules. It's supposed to be executed in the CI/CD environment. If you run it locally, remember to re-run npm install to restore your dev packages afterwards.
Publish the code (run the command in the root folder where the package.json file is). Replace the final argument with your function name (from Terraform outputs):
func azure functionapp publish azuretf-dev-function-app6.1. Verify code is deployed #
Open the hostname from the Terraform outputs to test our function works:
curl 'https://azuretf-dev-function-app.azurewebsites.net/api/hello-world?name=Terraform'
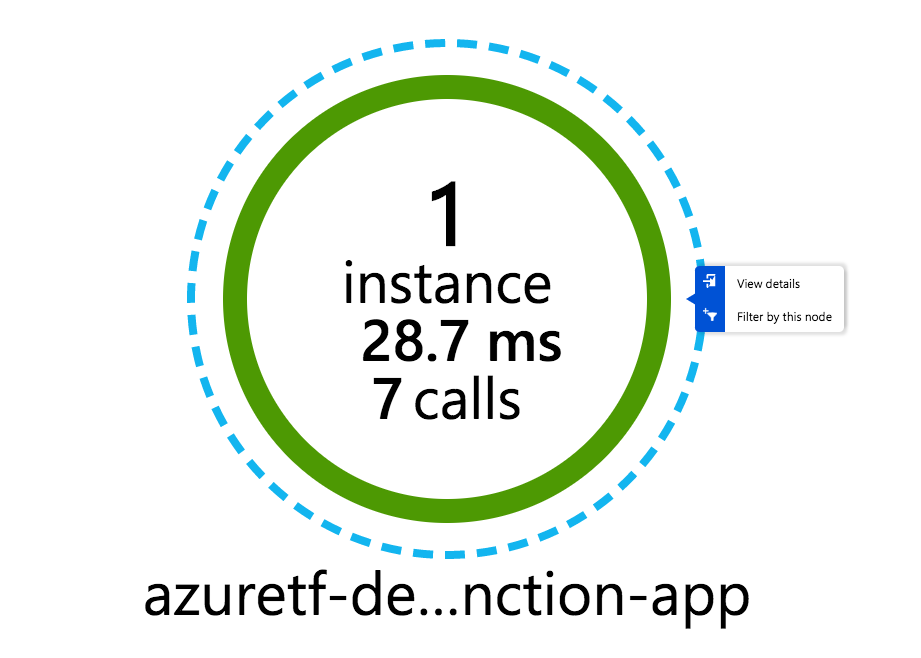
Hello, Terraform. This HTTP triggered function executed successfully.6.2. Review function metrics #
In the Azure Portal, find the App Insights instance we created. After making a few requests you should start seeing some stats around the requests made.
7. Cleanup #
To remove all Azure resources provisioned with Terraform run:
terraform destroy8. Conclusion #
Hopefully now you have an idea of what it takes to deploy a function app with Terraform, which Azure resources are involved and what are the steps to have your function running in the cloud.
You can find the final code in the tutorial repo.
I tried to balance information completeness with manageable reading time, but this became quite big anyway.
Congratulations for making it to the end 😅 Happy terraforming!
If you like this type of content you can follow me on Twitter for the latest updates.
_,.-'~'-.,__,.-'~'-.,__,.-'~'-.,__,.-'~'-.,__,.-'~'-.,_
Next: 4 Great Technology Trends Reports For Software Developers